Showing posts with label #chairframe. Show all posts

Tuesday, November 22, 2016

diy oversized chair - part 2

Full disclosure .... I plan to expose all the mistakes I made during the making of the chair. There really isn't a lot of information available on making your own upholstered chair, so there's gonna be mistakes. Quite a few actually. I'm not apposed to meeting a challenge head on - making adjustments as needed and learning as I go.


So my original plan was flawed in several ways. The deck was too high, so we actually broke the poplar out and cut it in half - then we put it back together. I also needed to add boards about an inch above the deck all the way around the chair as the red lines indicate. You'll need those for stapling the foam and fabric.


I had a Robotics meeting at the high school so I had to take off and leave Burke to having the fun of cutting springs and taking pictures. So excuse the messy pictures.


You can buy these springs precut, but in our case - the chair was over sized and pre-
cut springs weren't an option. So I bought a whole roll and cut the pieces ourselves using wire cutters. It worked just fine.


I did research on what type of springs to use and I went with these. They are call sinuous springs or zig zag springs. It was these or coil springs and I went with these for ease of use. They don't need to be tied down.


You get these clips, nail them in.


We spaced them about 3 inches apart.


We used this tool to stretch the spring to each clip.


We cut the springs about an 1 - 1 1/2 inches shorter than the span of the chair.


Make sure you nail everything down really well and file down any rough edges on the springs so they don't cut your fabric.


It really only took a couple of hours and no tying! 


To have the springs all move together when you're up or down, we used these long pieces of wrapped wire and attached them to the springs.


Next we took webbing and added them to the arms to provide reinforcement for the foam padding.


Someone I work with gave me burlap that was left over from his wedding, so I used it to reinforce the deck and outside arms.

Let's breakout the cost so far.

For the springs and webbing, including tools to put these on. $180.00. I have enough now for multiple chairs and the tools I need to put them on.

Mistakes I've made so far:
- miscalculated the height of the chair, so we had to take apart the kick board.
- not installed wood side ways for ease of upholstery.
- spending more on tools I didn't have or having to buy something in bulk because most people don't do this. :)

Total cost so far: $300

Sunday, October 9, 2016

diy oversized chair

Aunt Dottie enjoyed remaking furniture by reupholstering. I think given the chance, she would have been making her own too. Girls just didn't do that sort of thing in her day.

As I finished the basement, my thoughts turned to the upstairs furniture. We bought a sectional when we moved into our house 2 years ago from Art Van. We paid $2000 for it and it lasted about 3 years. We finally got rid of it after 5 years, but the frame was broke and the cushions were terrible!!

I looked around and couldn't find anything I thought was superior quality that didn't cost an arm and a leg. Quite frankly, this is expensive even to make but I'm up for the challenge.  

Soooo ..... it began.

The diy oversized chair.


I spent some time looking for plans online and I'm now convinced it's a well kept secret. No plans. I found some pictures of chair frames, and that was helpful. But .... I think my previous reupholstery attempts served me the best.


So here's the goal ... to reverse engineer this beautiful oversized chair I found online. The ad boasts kiln dried wood, reinforced corners and solid hardwood construction. The cost .... $1300. My mission is to reproduce this with the finest materials.


I spent some time looking for a way to generate my plans and finally discovered Sketchup by Google. Thank you Google!! Getting acquainted with Sketchup was a bit of a challenge but I finally managed to produce something worthy.


Burke and I sat out for our local big box store since our local lumber yard is now closed on Sundays. We debated between oak and poplar and finally went with poplar. 

Here's our shopping list: 
2pc - 1x6x8 Poplar
4pc - 1x4x8 Poplar
4pc - 1x3x6 Pine
2pc - 1x2x6 Pine
4 feet and plates for the legs.


We started cutting the 1x4's for the outer leg areas. We cut 4 at 36 inches and 4 at 24 inches. 


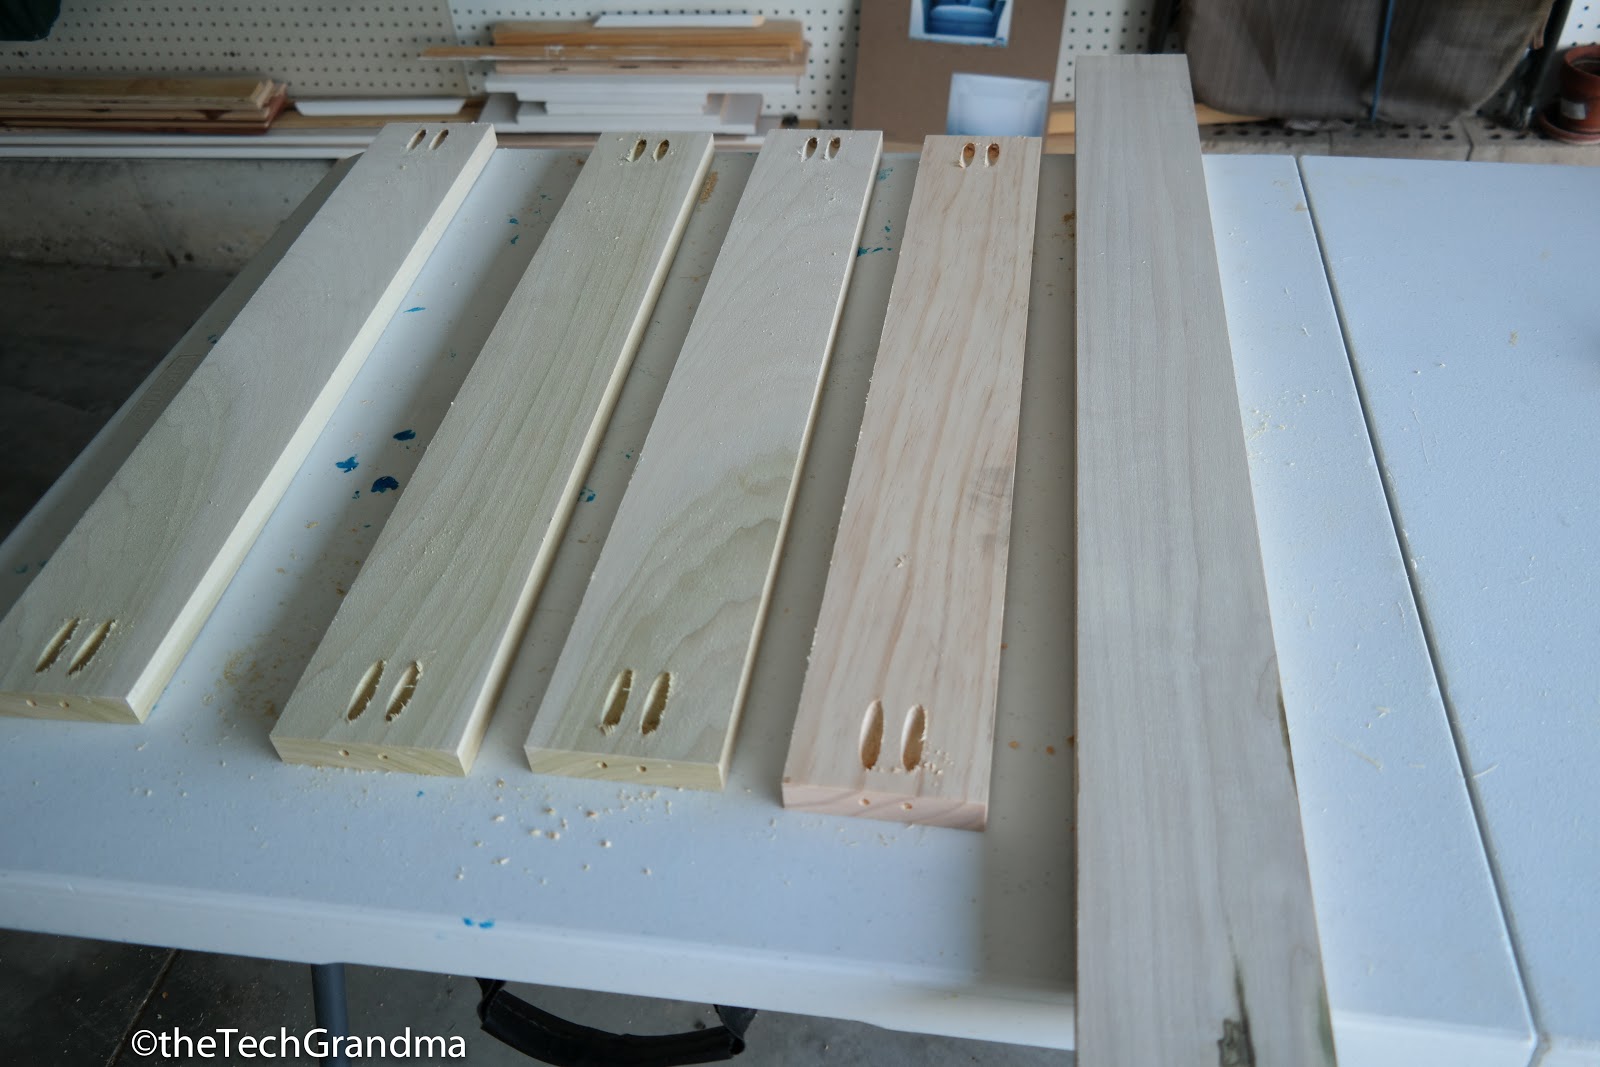
We added pocket hole screws on both sides of the 24 inch cuts.


Then we glued and screwed them together.


I used the 1x3 pieces of pine to reinforce the mid section and also provide support for upholstery. Then we used left over poplar and reinforced the corners for the inside areas of the chair. We used glue and 1 1/2 brad nails.


Next up was cutting the 1x6's. These were used for the kick boards and back support. 


These were cut at 44 inches. I put pocket holes on the end and then we joined them together with pocket holes. Use lots of glue.


We finally killed off our glue bottle after 3 wood projects. Felt so accomplished, we used every last drop. Gonna miss that bottle, good thing I've got a new one waiting in the wings.


I reinforced the outer corners with the pine 1x2's for reupholstery efforts. The wood was joined with glue and 1 1/2 brad nails. Then again in the center to tie it together, about an inch from the ends to get fabric and foam tucked away inside.


We added the legs.


The finished product. It took us just a couple of hours to build since the plan was completed. Super solid. There's no way this thing will break anytime soon. 

So next I'll buy the springs, foam, and fabric. All of which has been ordered. Keep in mind throughout the project that my mission includes using the finest materials. I want this to last a lifetime ... or two. Anything you buy these days, will last maybe 3-5 years if your lucky.

We'll go through each area as the project progresses - but I can tell you the most expensive part of this project will be the cushions. Stuff has been ordered ... impatiently awaiting.

Total cost so far .... $120.00